Making Beautiful Music Together - The COVID Way
Author: Peter Leibensperger
December 01, 2020
Over the past few weeks, our church has shown two music
videos in worship that were created by our five vocal choirs. The first music video primarily
features our children and youth choirs singing “God is Here Today” by Tom
Trenney. In the last verse of this piece,
the Chancel Choir joins in with the original melody revealing beautiful
counterpoint between the children and the adults. You may view it here: "God is Here Today"
The second video features the Chancel Choir alone, and it shows
images of our various ministries. The song is, “This is Who We Are”
by Mark Burrows, and as the title suggests, it helps us to think about our
identity as a congregation and what we are called to do. You may view it here: "This is Who We Are"
After these videos aired, we received many words of
encouragement, and by all accounts, our congregation truly appreciated them. I have also learned that many
people do not realize how the video was assembled. For example, one person thanked
me for the “Zoom Choir” and said that they hope it will become a weekly part of
our worship. Unfortunately, it is not as
simple as getting together on Zoom, unmuting our mics, hitting record, and singing. This would be impossible since
there is a significant audio delay on Zoom due to everyone’s various connection
speeds and internet lag time.
So, I thought it might be interesting to share with you the
process of how these virtual choir videos are made. There are, of course, many
different programs that can be used, so this is not how all virtual
choir videos are made. But hopefully it will give you a
greater appreciation of the hard work that the choirs have put in to make these
videos possible.
Step 1: Learning the Song
Usually, the Chancel Choir rehearses for about an hour and a
half every Thursday, during which we rehearse about six or seven different
songs that will eventually be sung in worship. During these rehearsals, choir
members hear other people singing their own part, reinforcing the correct
pitches and dynamics. Because of the pandemic, however,
we are forced to meet via Zoom for our rehearsals. And as I mentioned above, it is
impossible to sing with other people in Zoom because of the delay. So when people sing, everyone
(except the director) must have their mics muted. This means that the only person they
hear singing is themselves during the entire rehearsal. Our Zoom rehearsals usually
consists of the following:
1.) a time of fellowship in breakout groups
2.) a time of reviewing what we learned last week
3.) a time of listening to and taking notes on a new section of music
4.) a time of modeling each of the individual voice parts in the new section
5.) a time of singing what we just learned together (although we are muted and separate)
6.) a time of giving instruction for work outside of rehearsal
Because of the limitations of Zoom, these rehearsals take about
forty-five minutes, and this time is all spent on just one song instead of six
or seven. Zoom rehearsals are slow going.
Also, because each individual choir member will have to
record themselves singing into a camera, the choir members have to memorize
their music—since a shot of the back of a folder doesn’t make for good TV. This takes a great deal more time
and effort on the part of the choir member than just singing a piece of music
off of a sheet every week.
In order to accommodate the new rehearsal process, learning
materials from the director are required so choir members can practice outside
of rehearsal. This means that the director must
make a track for each voice part to practice with. In order to do this:
1.) The director records the accompaniment track by itself.
2.) The director sends the track to four choir members of different voice parts.
3.) Each choir member follows directions to record a video of themselves singing their part.
4.) Each choir member sends their recording back to the director.
5.) The choir director then superimposes each vocal track onto the accompaniment track.
6.) Once the practice tracks are balanced so that the listener’s vocal part stands out to them, the choir director sends these tracks to the choir with directions to practice with them.
After about four weeks of Zoom rehearsals and outside
practice with their vocal part tracks, choir members have memorized the anthem
and are ready to record one song!
Step 2: The Recording Process
Once the choir members are ready to record themselves
singing their part, the director sends out detailed instructions to guide the
choir members through the process. The directions look something
like this:
1.) You will need two devices: a phone with a camera, and a device that plays audio.
2.) You will need a pair of earbuds: when you record, you will have one earbud in so you can hear the track, but the other one will dangle free so that you can also hear yourself to tune your voice.
3.) Download your practice track to your audio device.
4.) Turn your phone horizontally, so all of the shots are the same size
5.) Open up the video app on your phone.
6.) When ready, first press “record” on your phone.
7.) Then press “play” on your audio device.
8.) Sing along with the practice track by memory.
9.) When finished recording, count to five, then press “stop” on your phone.
Once they’ve finished recording, they will have a file that
contains only their voice and image on it (i.e., no accompaniment). They will send their large video
files to me via WeTransfer.com, and at that point, the choir members’ work is
done.
Step 3: Scrubbing the Audio
This may surprise you, but the first thing the director does
when they receive the choir members’ video files is separate the audio from the
video. I use “Audio Converter Online,” a
free service that takes video files and turns them into audio-only files. The audio files are then
organized into one folder on my computer.
The reason that the audio is separated out is that when
people record their audio, it is always very messy. Even if you turn off the AC, the
dishwasher, and the lawnmower, there is always some kind of ambient hum on your
recording. (One family even sent me a
recording during which the phone rang right in the middle of the song—yes, that
is real life during a pandemic!) Also, some people record
themselves very close to the mic, while others are farther away, meaning that
the levels must be balanced.
In order to fix all of these problems, each audio file is
uploaded individually into an audio editing program. I use Audacity, and I highly
recommend it. One at a time, each video is:
1.) Synchronized to the accompaniment track (this is very tedious)
2.) Balanced so that its volume will blend with the other tracks
3.) Clicks, coughs, hums, etc. are removed
4.) Pure silence is generated during sections when a singer is not singing
The program looks something like this:
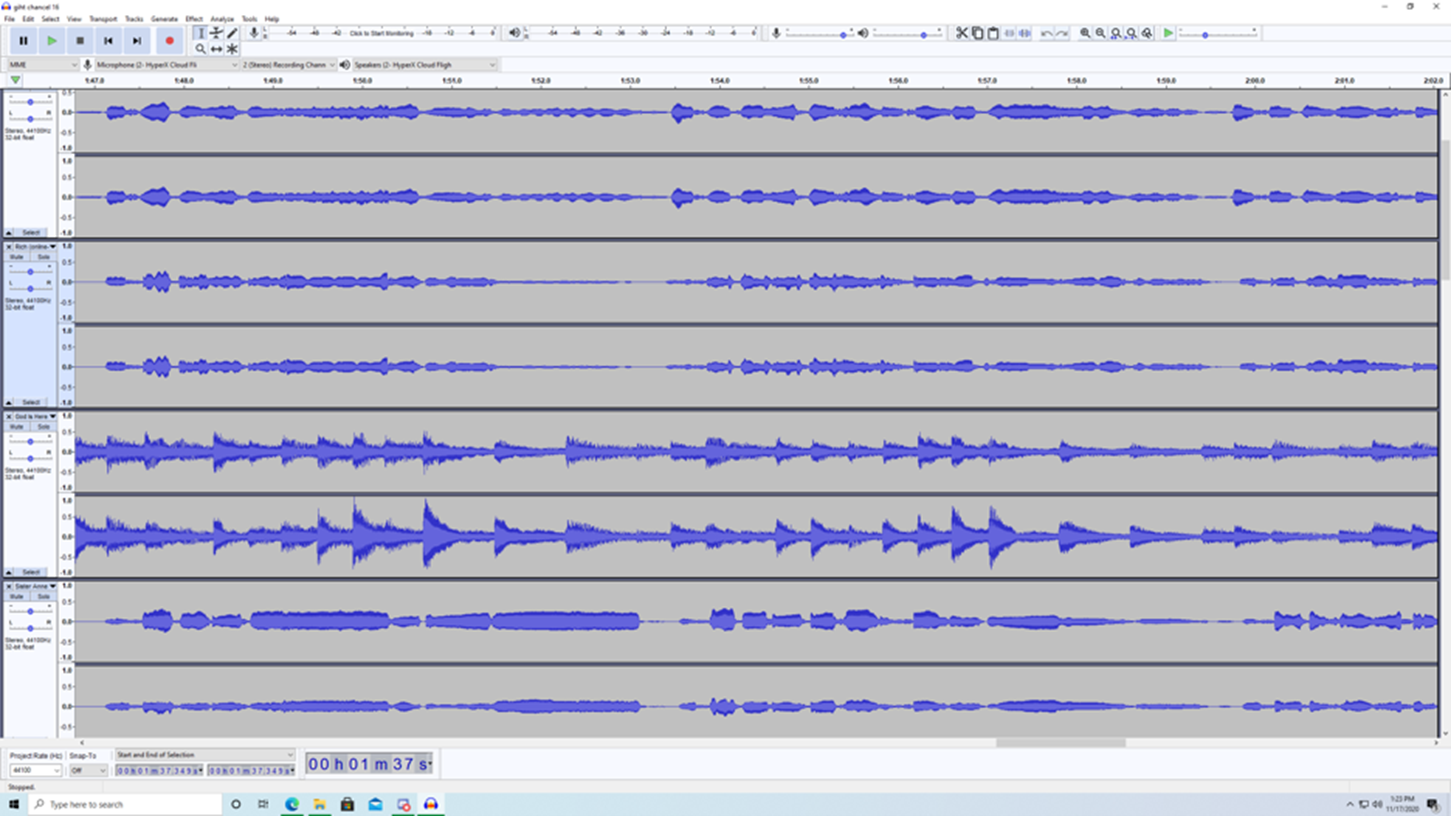
Once all of the choir members’ tracks have been edited,
synchronized, and balanced, it’s time to make sure that there is an overall
vision for the video. An outline of all of the shots
that will be included in the video must be created.
Step 4: Visualizing the Video
When you are creating a video for a song, you may show
whatever you want while the choir is singing. This might be a shot of a stained-glass
window, or a picture of the youth group, or a shot of the whole choir. It could be that you want a solo
or a duet during one of the verses, or perhaps you want all members under the
age of thirteen to sing the first verse, and then have the adults join on the
second verse. Whatever you choose, it must be
written down, and it must be planned out. I like to print an extra copy of
the score that I divided into segments (shots), and then I write down what will
be in each shot. By the time I’m ready to produce
the video, this score will be covered in notes. When this process is complete,
you should have an image in your head of what the video will look like and
sound like from start to finish.
Step 5: Mixing the Audio
Once you have the video visualized, it’s time to return to
the audio and make sure that it reflects your vision. For example, if you’ve decided
that you want to feature someone as a solo, then all of the other tracks (save
for the accompaniment track) must be muted so that you only hear that one
individual during that section/shot. Perhaps you’ve chosen a small
group for one of the verses? This means that only those voices
may be heard during that section/shot. At the end of this process, you
will reduce all of these files into one audio file that is balanced, clean, and
has the right people singing at the right time. This is your final audio file.
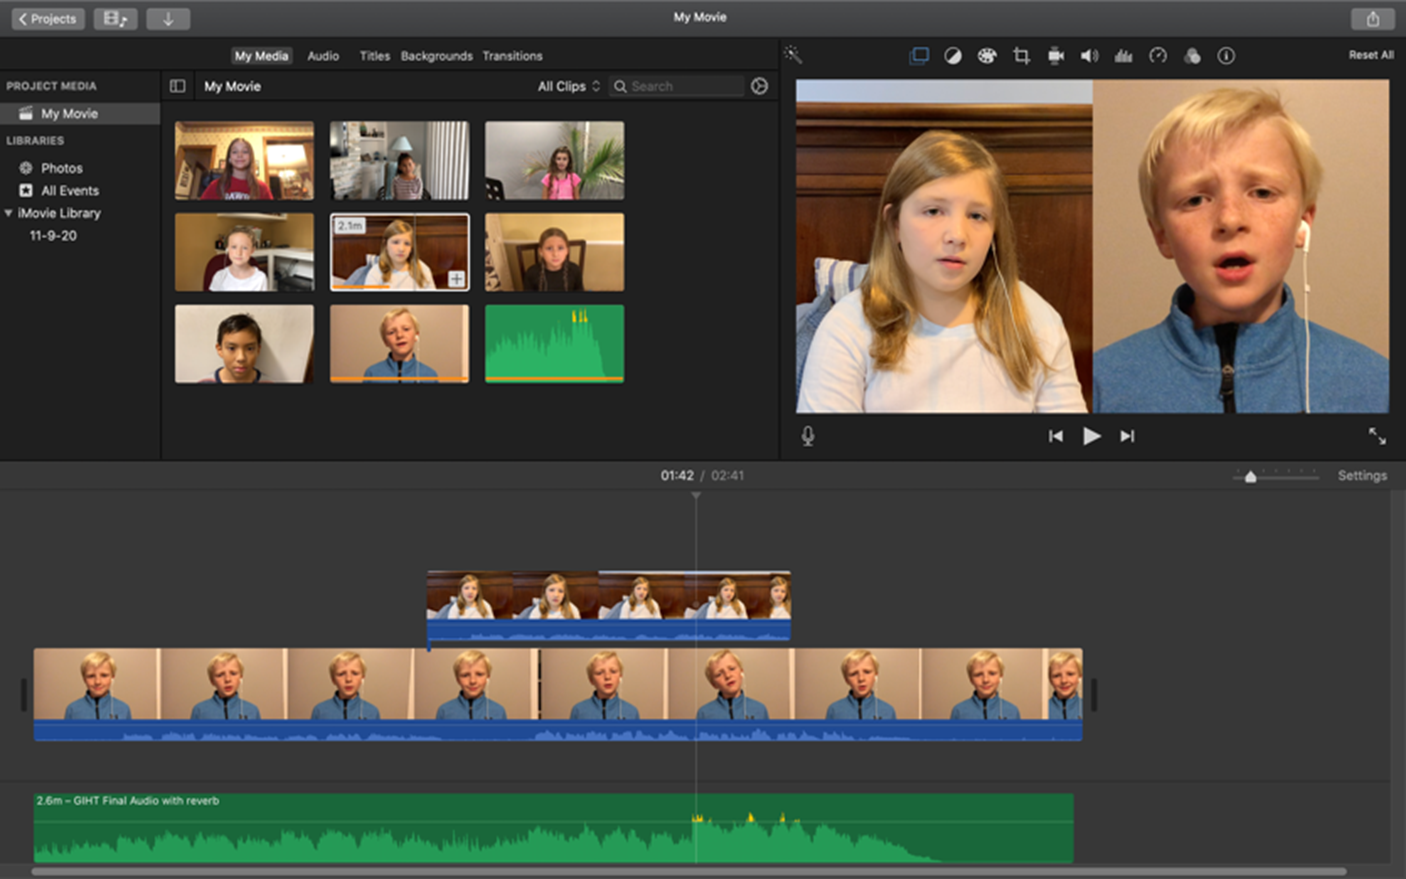
Step 6: Editing the Video
Once you have your final audio file, it’s time to superimpose
the corresponding video files on top of it. In order to do this, you will
need video editing software like iMovie or Adobe Final Cut Pro. I have only ever used iMovie, and
I do not recommend it. While iMovie is intuitive, its
limitations make for an extremely cumbersome editing process when featuring
multiple videos in the same shot.
There are three main types of shots when creating one of
these videos: 1.) a video of someone or a group of people singing along with
the audio that you hear, 2.) a video that does not include people singing along
with the audio, and 3.) a still picture that the shot will linger on while the
audio plays. The second and third types of
shot are fairly easy. These can be edited in at the
end. But the first kind of shot is
very tricky. In shots of the choir is singing,
each person must be added and synchronized to the audio individually. (This is an extremely tedious
process, because if the mouth movements are off by just milliseconds when
compared with the audio, it will look very strange.) Moreover, in iMovie, once a
synchronized video is added, the whole file must be saved, rendered, and
reopened before the next synchronized video can be added. When you’re working with thirty
videos that need to be synchronized in this way, it takes a very long time. And remember, this is only for one shot! In most of our videos there are about
fifteen shots, and one shot can take over three hours to complete. Here is what a file in iMovie
might look like:
But that’s it! Once you’ve added the video for
your final shot, the movie is complete and it is ready to share. It is certainly a great deal of
work on the part of many people. The singers must be dedicated
enough to show up for weekly Zoom rehearsals. They must also be motivated
enough to memorize the song on their own. And once they’ve memorized the
song, they must be brave enough to record themselves singing along with their
voice part track and send it to the director to watch and edit.
In the end, you have a video fit for showing in worship, but
as you’ve witnessed above, this process takes over a month on the part of the
choir members and choir director. So, what you see in those videos
is a whole lot of labor and love poured into one single project designed to
uplift and minister to our congregation. We hope you’ve enjoyed these
videos and are looking forward to more. Thank you all so much for your
support and encouragement as we continue to fulfill our calling during these challenging
times!
BACK